Round Epoxy Tables For Sale
Below you’ll find our selection of round epoxy tables. Need something else? We also make custom epoxy river coffee tables to match your exact needs.
No Results Found
The page you requested could not be found. Try refining your search, or use the navigation above to locate the post.
Summer Sale!
Get Up to 20% Off Office Furniture and Accessories
Featured PRoduct
Wood Bed Frame – 20% Off
Free Delivery
On all Kitchen Furniture
Need A Custom Round Epoxy Table?
Looking for a custom round epoxy table? Make a custom round epoxy table request with the link below and start designing a unique table!
Round Epoxy tables look sophisticated and elegant, combining the natural texture of wood with the ethereal translucency of epoxy resin. Crafted with precision and attention to detail, these tables can serve as a coffee table with your sofas in a home or in an office waiting area. No matter what the room’s aesthetic is, this kind of table will fit in seamlessly, adding a touch of nature.
Unlike rectangular or live edge epoxy tables, round epoxy tables can be challenging to construct. There are many design options to choose from, along with customization options. Similarly, there are many size options as well to suit every kind of space or room.
A high-quality round epoxy table can last for a decade with proper care and maintenance.
Types of Wood
Wood is the second main element of an epoxy table, so choosing the right kind of wood is essential. Epoxy resin works with virtually any kind of wood, so it comes down to the desired color or texture of the wood. Popular wood options for epoxy tables include:
- Walnut and dark walnut
- Red cedar
- Oak
- Hickory
- Maple
- Mahogan
- Most epoxy tables leverage the natural color of the wood. However, varnishes can be used to alter it slightly.
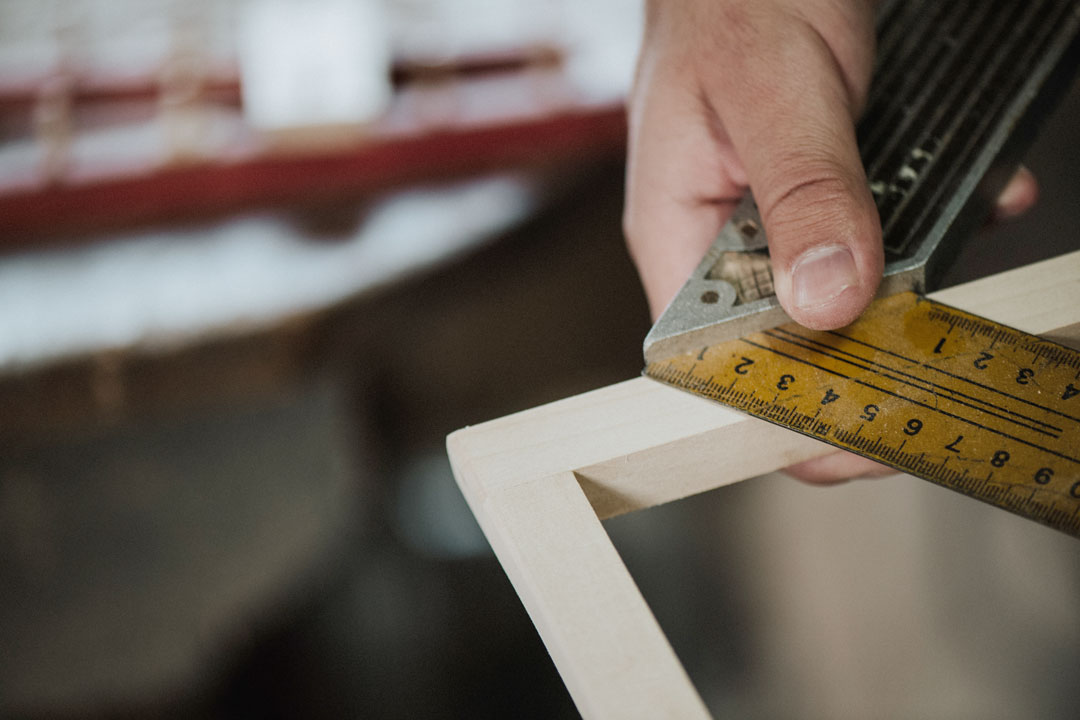
- Step by Step Construction Process
Designing the Table: The first step is to come up with the design of the table. This may be done from scratch or based on the available wood.
The design can also have a theme. The river design, where epoxy mimics a flowing river, is the most popular for round tables. However, it can also be abstract with wood and resin layers diffused randomly to create a round tabletop.
Creating the Round Mold:
Round epoxy tables require a round mold, which is constructed from scratch using metal sheets. The mold must be water-tight so that the resin does not leak out. For this purpose, a sealant like caulk or silicone is used. The mold is made according to the diameter of the table.
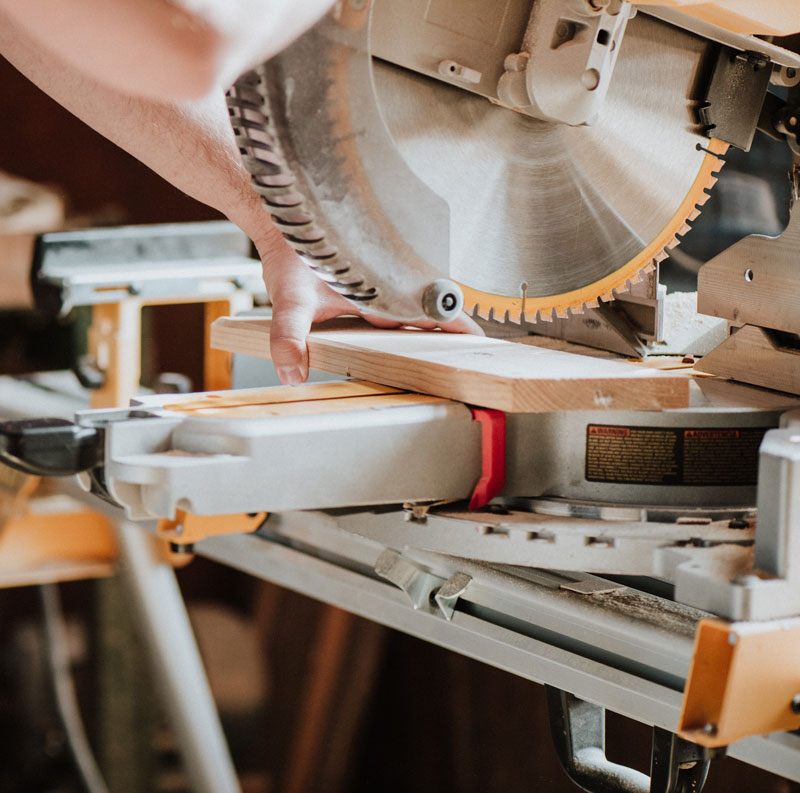
Preparing the Wood:
The next step is preparing the wood pieces that will go on the tabletop. This is entirely dependent on the table design.
It can be several pieces of wood (for abstract design) or one big piece of wood cut in a circle. For river tables, two pieces of wood are needed with space between them for the resin. The wood pieces have to be of the same depth. Their surface and edges are sanded for flatness.
Preparing the Resin: After measuring the required amount of epoxy resin, the solution is made. Since the epoxy is clear, it needs special dyes made for this material.
Determining the correct ratio of the dyes is crucial to getting the right color and consistency. Depending on the design, the colors may be added into separate solutions and then mixed later once poured into the mold.
Adding the Resin Solution:
With the wood pieces fixed into the mold, the resin solution is carefully poured in. The solution should be level with the wood pieces to create a flat surface. Also, if there are any bubbles in the resin, they are removed with a heat gun.
This is also the stage where any objects can be added to the resin layer of the table, for example, pebbles, marbles, or memorabilia.
Curing:
The resin can take 72 hours or more to cure in the right conditions. Once the resin has completely dried, the tabletop is taken out of the mold.
Polishing:
Before the legs of the table are attached, it’s sanded once again and applied with a polish that acts as a protective layer.