Epoxy Dining Tables For Sale
Below you’ll find our selection of epoxy dining tables. Need something else? We also make custom epoxy dining tables to match your exact needs.
No Results Found
The page you requested could not be found. Try refining your search, or use the navigation above to locate the post.
Summer Sale!
Get Up to 20% Off Office Furniture and Accessories
Featured PRoduct
Wood Bed Frame – 20% Off
Free Delivery
On all Kitchen Furniture
Need A Custom Epoxy Dining Table?
Looking for a custom epoxy dining table? Make a custom river table request with the link below and start designing a unique table!
Your dining table can make or break the dining room in your home. So why not bid farewell to conventional wood or glass dining tables and go for something extraordinary. Epoxy Dining Tables are becoming increasingly popular for creating a restaurant-style ambiance right at home. These epoxy dining tables take the decor to the next level with thematic designs, beautiful luster, and immaculate craftsmanship.
Why go with an epoxy table for a dining table? For starters, creating an epoxy table with wooden logs efficiently utilizes wood. Instead of wasting so much wood, it incorporates wood logs in their natural form and shape. More importantly, these tables can complement any kind of home decor, from classic to post-modern.
How Is Your Epoxy Dining Table Made?
The process of creating an epoxy dining table is labor-intensive and time-consuming. Most of our table offerings are made from scratch and with great attention to detail.
From selecting the wood for the table to curating the resin pigment combination, every step of the process is crucial to ensure the table turns out perfect.
Here’s the step-by-step process:
-
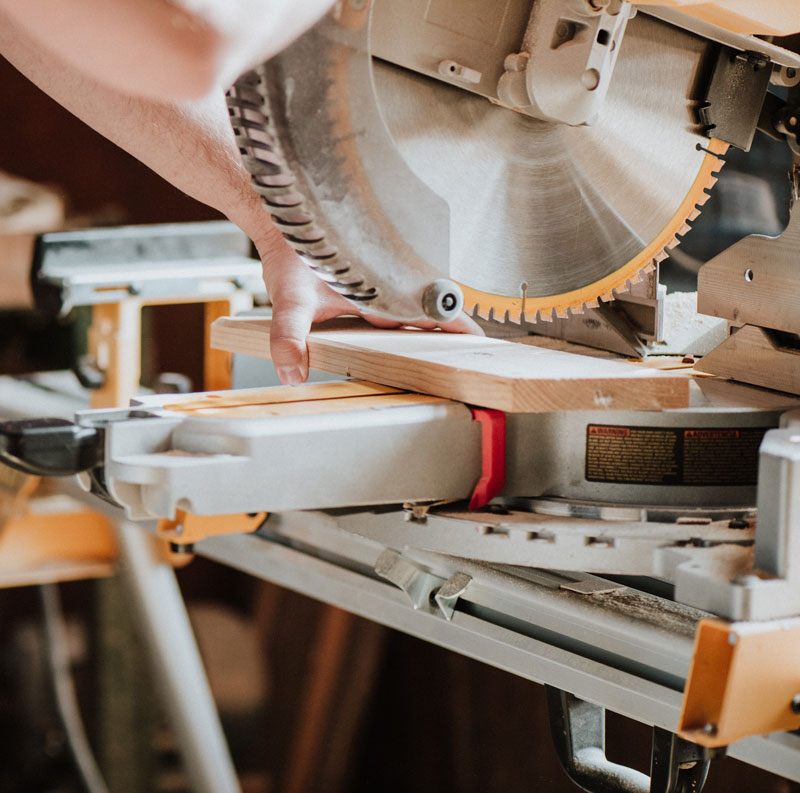
Step 1: Selecting the Wood
The first step is choosing the wood for the epoxy dining table. This step involves choosing the wood type first and then choosing the right logs that suit the size and design requirements. For the most part, the pieces should be long enough to cover the length of the table, but that’s not mandatory.
The flexibility of epoxy tables is that they can incorporate different lengths or shapes of wood logs so long as they are flat. The most common woods used in epoxy dining tables are Oak, Maple, Walnut, and Cedar. -
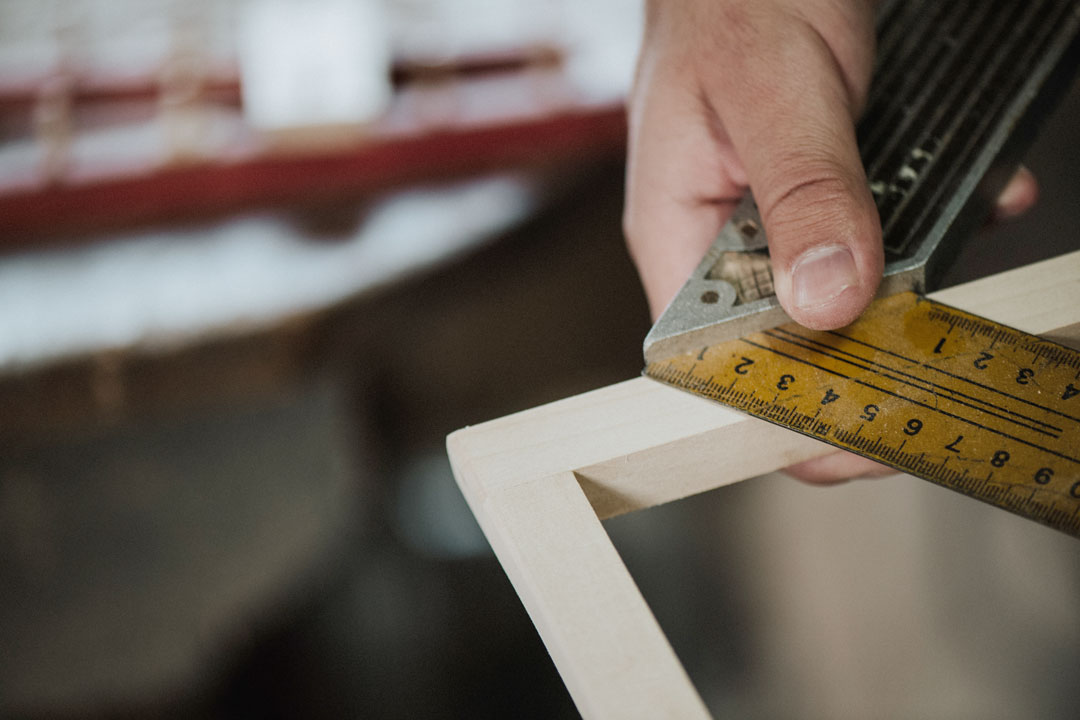
Step 2: Preparing the Wood
Once the wood has been selected, it is sanded to even the surface. All pieces should ideally be of the same depth so that the resultant product has an even depth of wood parts.
For this step, woodworkers use sanding machines to even the surface. -
Step 3: Fixing the Mold
This step involves creating a mold for the tabletop. For this, a flat surface is used with borders a few centimeters or inches bigger than the desired size of the table. The mold structure is typically made of wood as well, like MDF. A release agent is applied to ensure that the resin does not stick to the mold.
-
Step 4: Preparing the Epoxy Resin
To create the dining table with epoxy, you need the exact amount of resin solution. It can be over but never under. So craftsmen use area formulation to calculate exactly how much resin will be required for the table.
The transparent resin requires pigments made for coloring resin. The choice of pigment depends on the table theme. Blue and green pigments are highly popular, producing a water-like translucent epoxy layer. However, any color can be used. -
Step 5: Adding the Epoxy Resin
Once the mold is set, and wood pieces are fixed inside it, the epoxy resin solution can be poured in. This is a challenging step as the resin has to be added layer by layer, so it doesn’t go over the top surface of the wood.
We can also add objects to the resin to give the table a theme. These objects will be visible through the translucent epoxy resin.
After adding the epoxy, the table is left to dry. -
Step 6: Final Sanding and Cleaning
After the resin has completely dried, the mold can be taken off. Now, the table is ready for final touches. But first, it requires additional sanding so any rough edges where the resin meets the wood can be smoothened. Similarly, the edges of the table are sanded to smoothen.
-
Step 7: Attaching the Legs
After the tabletop is ready, it’s time to attach the legs to the table. Again, we use the same wood as the tabletop to create the legs and give it a similar finish for a cohesive look.
-
Step 8: Polishing
The last step is polishing the table to give it a beautiful finish with a subtle sheen. This polish layer improves the aesthetic appeal of the dining table and improves its durability.
How to Choose the Chairs for Epoxy Dining Table?
The major advantage of an epoxy dining table is that it’s highly versatile and can work with many dining chairs.
If you want a more uniform aesthetic, go with wooden chairs in the same finish as the wooden parts of the tabletop.
You can also create a contrasting aesthetic by going with chairs of a different color than that of the wood. The color can be close to what the epoxy layer is like. For example, turquoise upholstery on chairs to match the epoxy color.
Chairs with patterned fabric can also work with an epoxy resin table, especially if the print incorporates at least one color of the table as an accent shade.